Here's some text from a post I made in another forum about Dr. Colorchip:
Hi all. I wanted to contribute to this community by relating my experience with Dr. ColorChip
http://www.drcolorchip.com/
The Dr. Color Chip system consists of custom-order touchup paint blended to work with their leveling agent "SealAct". It comes with various kinds of applicators. It's designed to be applied, smudged in with your thumb, dry, then leveled with SealAct.
I ordered a "road rash kit" (their largest kit) custom mixed to my paint colour (Barritz Blue code #363). I spend some time in the nice weather on this extra long weekend using it on the hood of the E39. I'll start out by saying that my expectations were pretty realistic. I've got a 12 year old daily driver with no 3M film protection on the hood, a dark paint colour, and all-original paint. That being said, it still shines up really nice and the white chips and road rash really stand out when it's clean. I've seen more bad re-sprays than good ones, and you have to worry about contamination (fish eyes in the paint), colour matching, overspray, dribbles/runs, and cost. It's simply not in the budget to get a guaranteed-good (ie. expensive) respray just for stone chips, and a mediocre respray could look worse than what I started with. Here's where the $50 kit comes into play...
In some places you can't tell where any of the damage was. For the worst strikes there are still differences in the paint level, but at least the chip is filled with perfectly matched paint. Given patience these deep defects could be leveled I'm sure. I found the colour matched better than my dealer or body shop provided touch up paints I had been using previously.
I found when using the SealAct, that it works best to have bright, diffused, oblique-angle lighting available. In my case I backed into the garage and had lots of daylight. I looked at an angle at the reflection of the clear blue sky (but not direct sunlight) in the paint. While doing this I was able to see the SealAct working on the dabs of paint. They would leave trails like comets in the hazy coating of SealAct. You could just from the character of the trails when you had rubbed enough and how things were looking. If I didn't use this lighting technique I found it very difficult to tell what was going on - when was enough and when was too much. This might be responsible poor results if you aren't careful.
As for the amount of SealAct, I found it worked best to apply enough that it was smeary or greasy on the surface of the paint, not just hazy. Hazy dried between wipes and wasn't as effective. Try to use "just enough" to get the cut you need on the blobs.
Note that there's two ways to use the system. One way has you dob/apply the paint with a tool and smudge it into individual chips. The second way is to dip a rag in the paint and smear it on like wax. The first way works much better, but simply wasn't realistically possible for the rashy area at the front of my hood (from the roundel down, say). Above the roundel I treated chips individually - it used less resources and gave better results, but took a lot more time.
So, on to the result pictures.
For these pictures I had used the system on the passenger side of the hood and not the driver's side. There is only one "method #2" application in the rash area at the roundel and below. Note that the car hasn't had a stitch of detailing since before winter in October or so so please don't mock other swirlies or "holograms" in the finish. This is as bad as the car gets and I'm sure my routine spring detailing will restore good looks, especially with the chips virtually gone. In direct sunshine I do notice a little bit of haze still in the front section and probably need another pass of SealAct.
I produced two sets of pictures - one processed normally and one with really "hot" processing to attempt to highlight the chips. Please note that I had difficult lighting to deal with and I can't control the sun so it wasn't ideal for demonstration purposes but I think it gets the point across. I've put 800 pixel reductions in line, and offered links to full resolution versions.
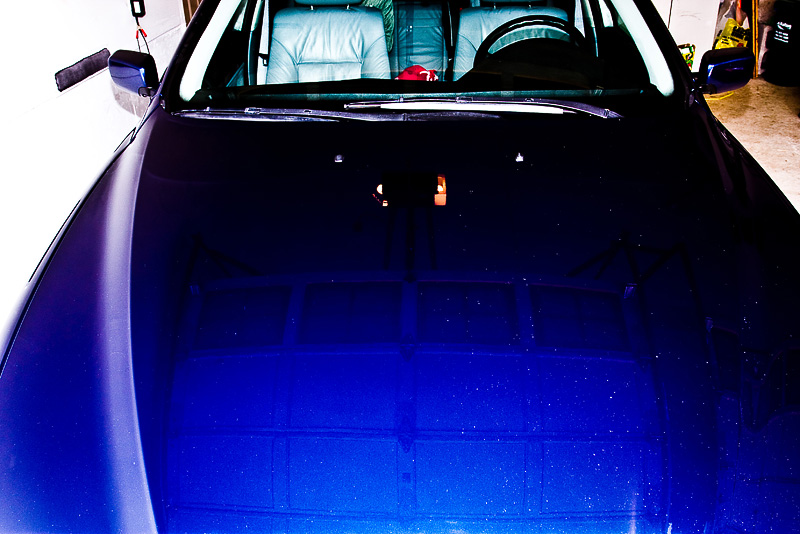
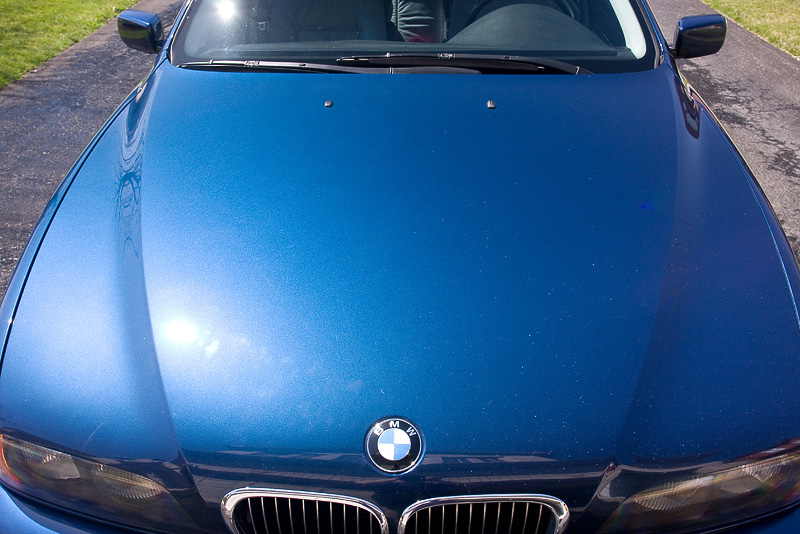
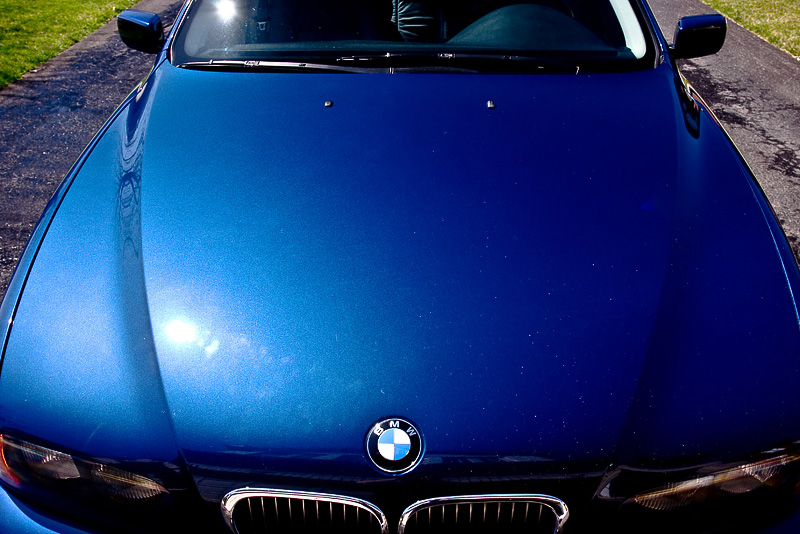
I believe the "hot" versions of the first two pictures tell the most.
My goal here was the "six foot view". The "dab" method of treating individual chips worked far better than the "rub" method suggested for the rash area. Many of the "dabbed" chips were completely invisible. Of course the deepest chips aren't invisible, but the colour match was perfect. I would guess that a patient person could build up the paint in the deepest chips until they were invisible.
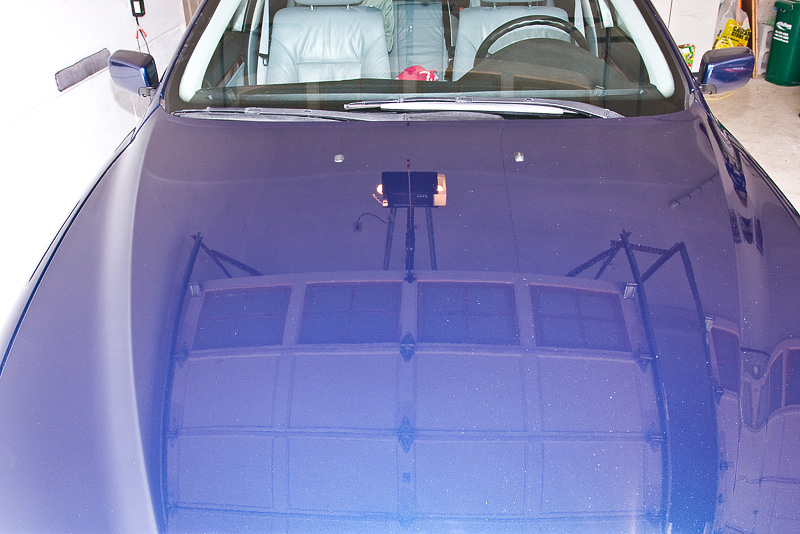
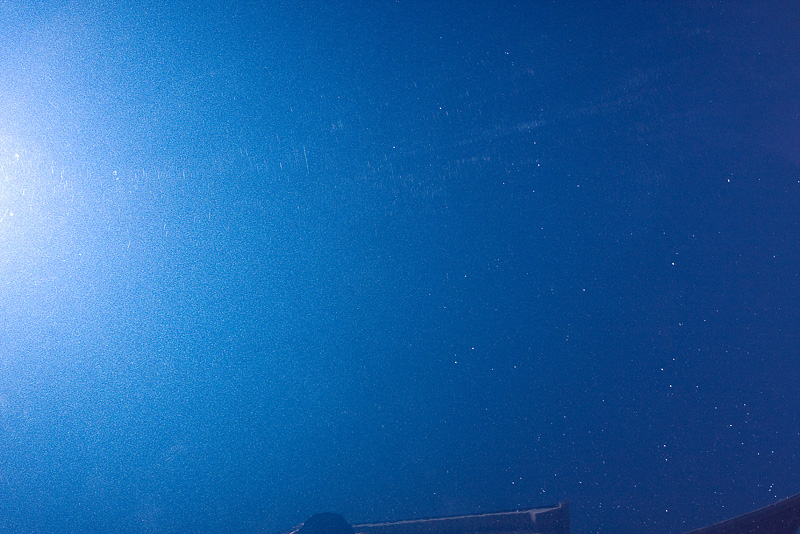
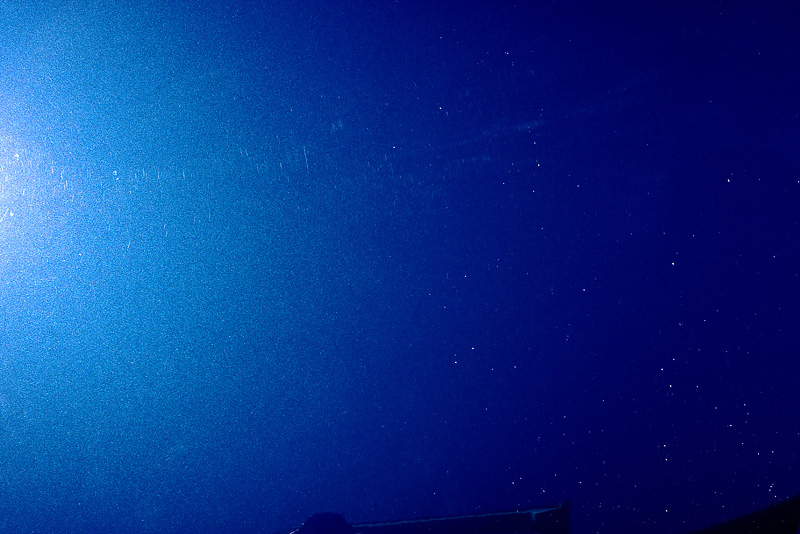
Photo #1: still in the garage, indirect lighting
Fullsize links:
NORMAL |
HOT
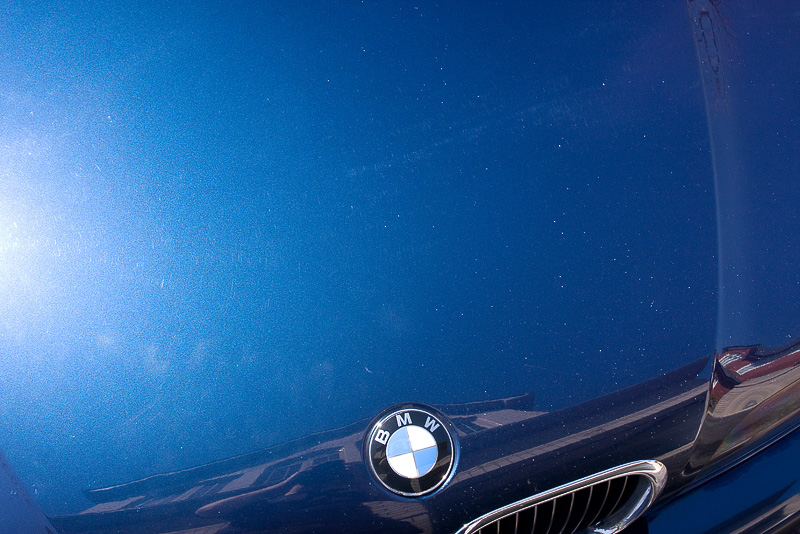
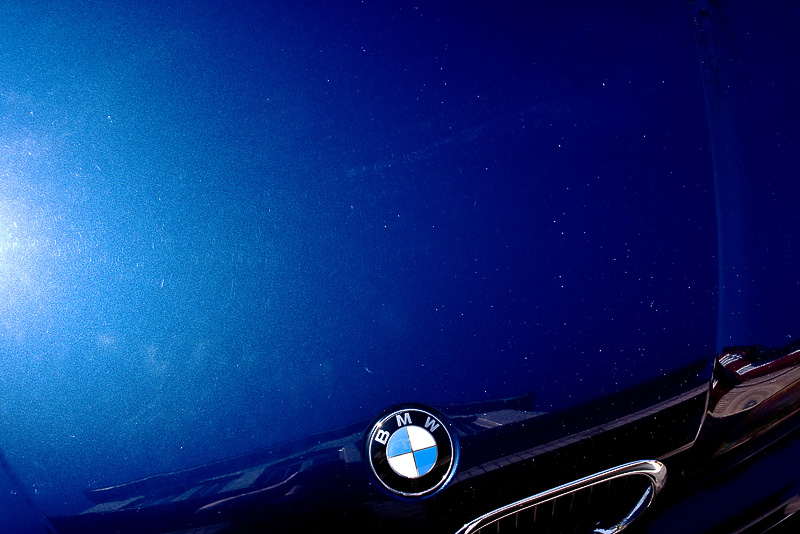
Photo #2: Direct sun, bearing 10:00 high
Fullsize links:
NORMAL |
HOT
Photo #3: Closer view, showing the transition area
Fullsize links:
NORMAL |
HOT
Photo #4: Another view showing the transition area (and me)
Fullsize links:
NORMAL |
HOT