For context, this is the thread I posted earlier about the leaking oil cooler.
I changed the filter housing/oil cooler this morning. The job from start to finish took about 4 hours and 15 minutes. The most difficult part of the job is the two nuts and a stud that holds the upper intake bracket to the block and the two nuts that hold the bracket to the intake. It took about 20 minutes and some colorful language to get them off. Ironically, it took about three minutes to get them back on. This is not a difficult job, it just requires some patience and mechanical understanding. Cleaning the intake ports on the heads and the gasket surfaces on the lower intake, fastening the cooler to the filter body, and swapping the sensors probably takes as much time as the rest of the job. I did change the plugs, coils, and fuel injectors, so that was probably 30 minutes of the total time. If you were only changing the filter housing/oil cooler, this job could be done in three and a half hours.
Total miles is 168,000 and this cooler had 106,000 miles before cracking.
Cost:
Bosch coil packs (part #0221504032) $183.58
Bosch fuel injectors (part #62410 / 0280158233) $270.84
NGK LKR7DIX-11S Iridium IX Spark Plugs (93175 Iridium Ix) $49.43
Dorman 926-959 Patented Upgraded Aluminum Engine Oil Filter Housing with Oil Cooler and Filter $215.75
Total cost $719.60
My guess the dealer cost for all of this would be about $2000. I could have used the old injectors and coil packs, but if one goes bad, the whole upper intake has to come off again. It's probably a two hour job to remove and reinstall, so I just replaced everything. Plus, with 168k miles, at least one of those twelve parts was on borrowed time.
I cycled the key to run three times and listened for the fuel pump to stop running. The fourth time, I attempted to start it and it started right up as usual. I'm not sure how the system gets the air out of the fuel rails...
It runs great and idles sooo smoothly.
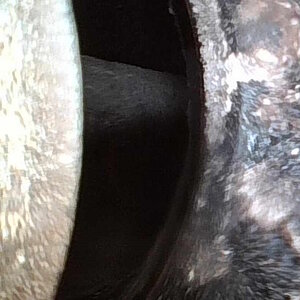
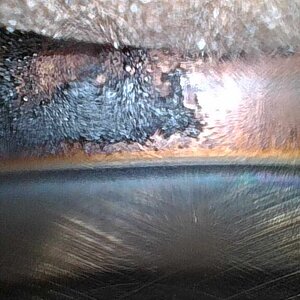
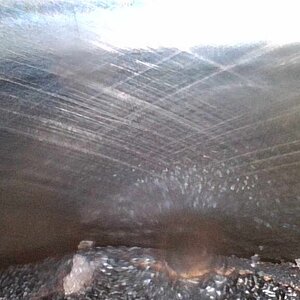
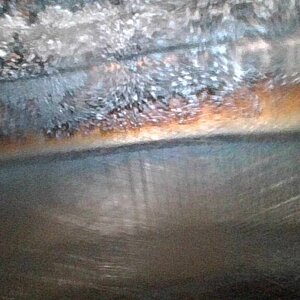
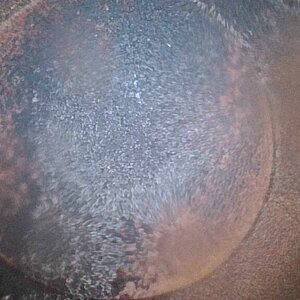
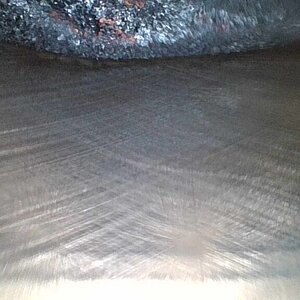
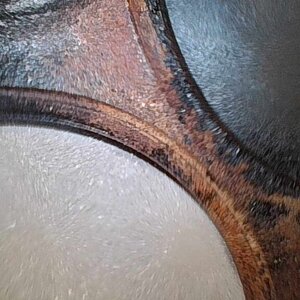
I got some inside the cylinder pictures with my bore scope, through the spark plug holes.
The entire photo album with descriptions can be found here:
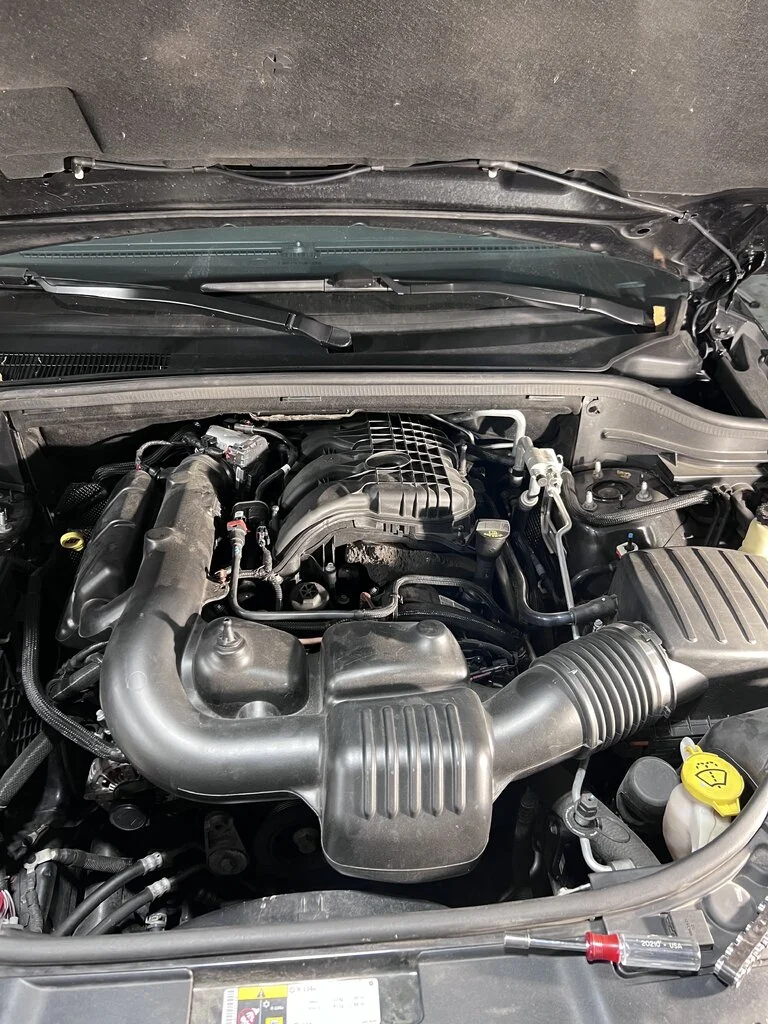
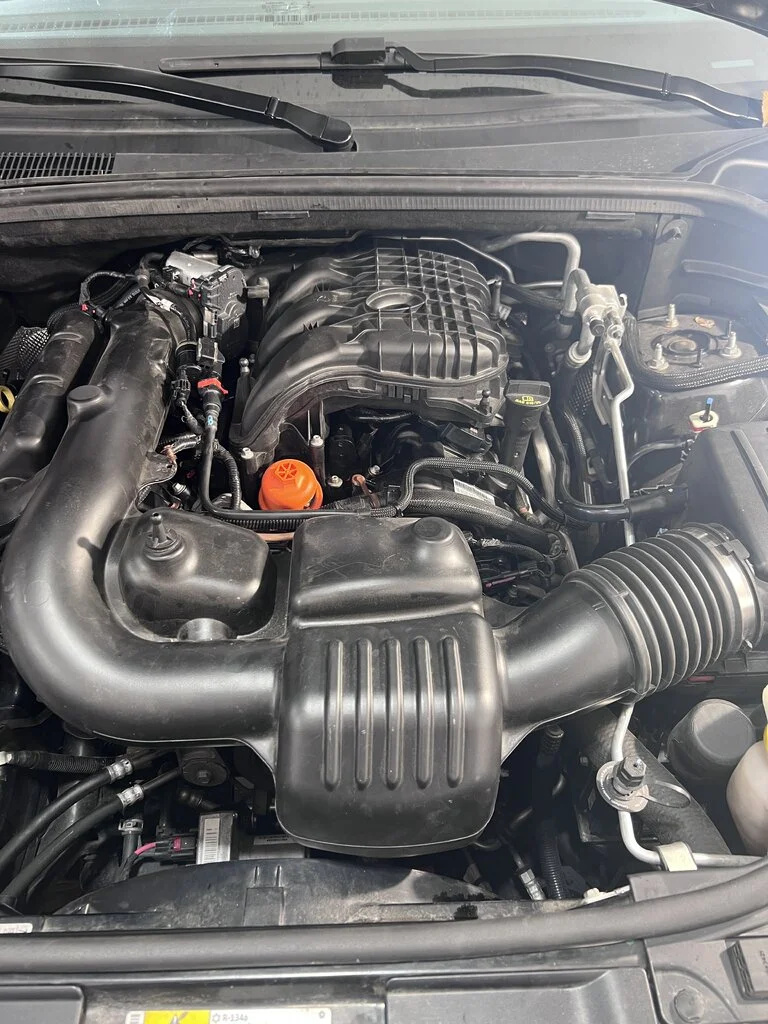
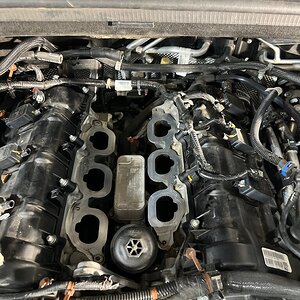
Start of job:
Upper intake removed:

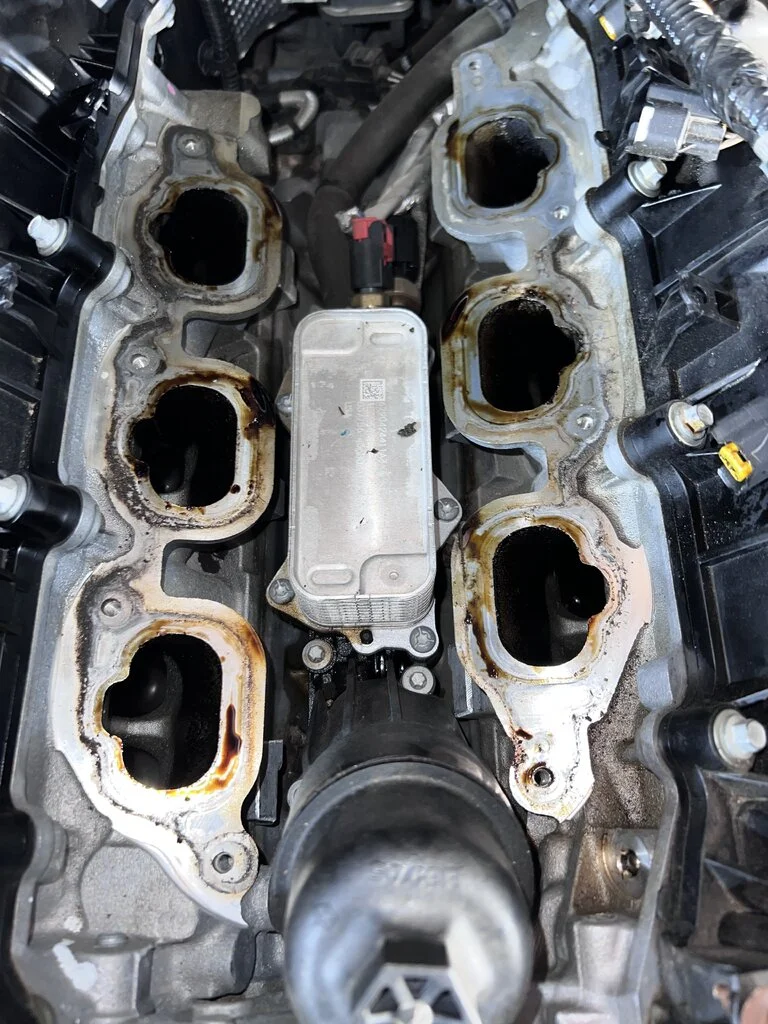
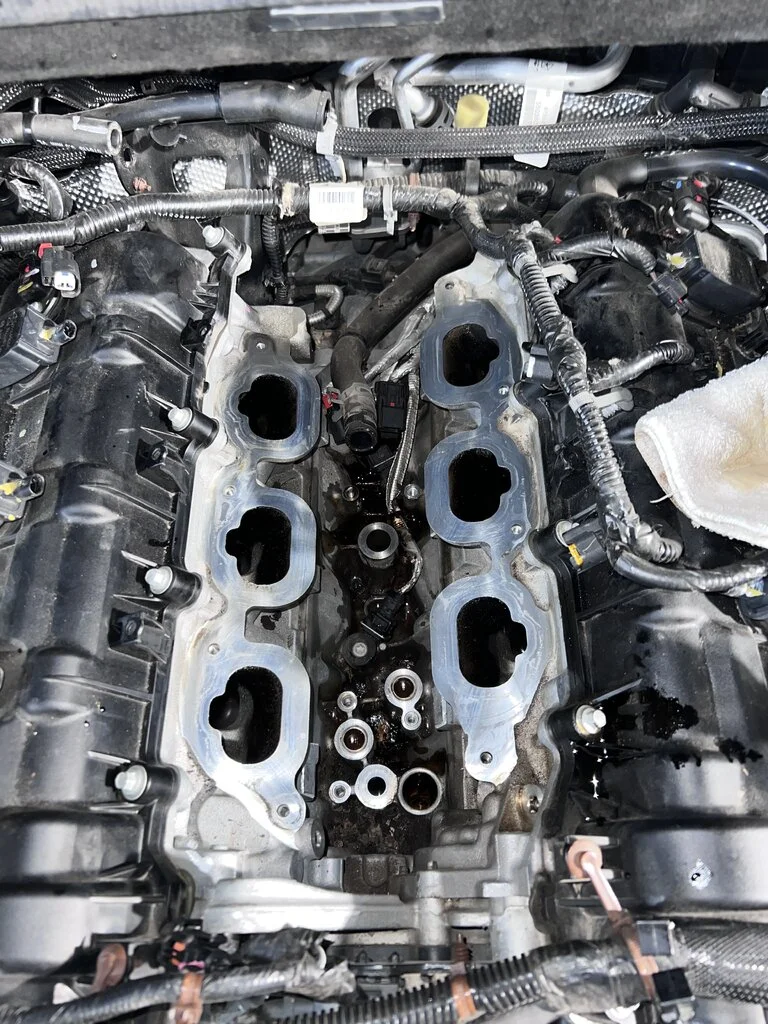
Lower intake removed:
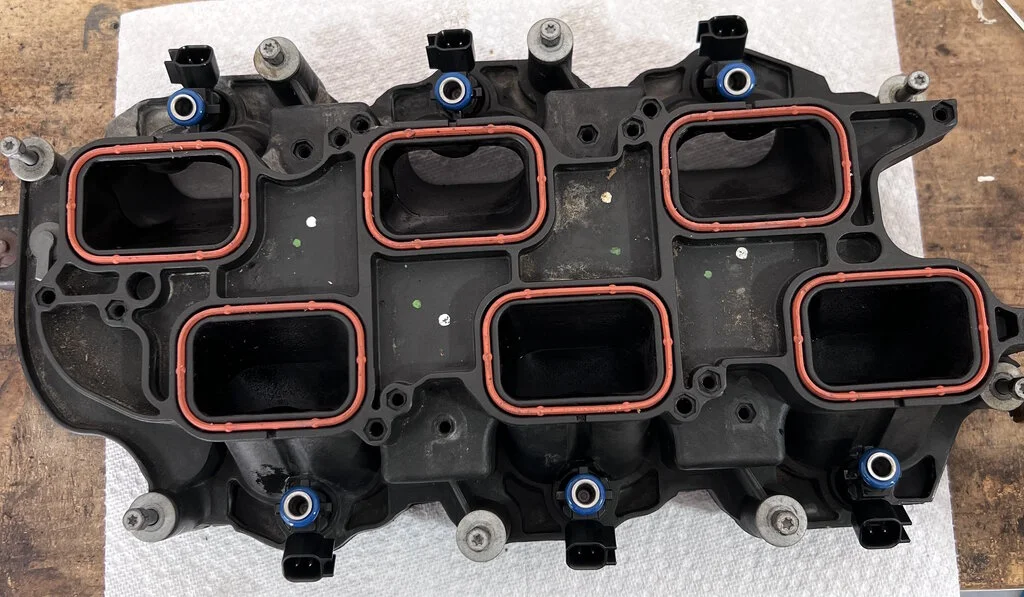
Lower intake new gaskets and new injectors
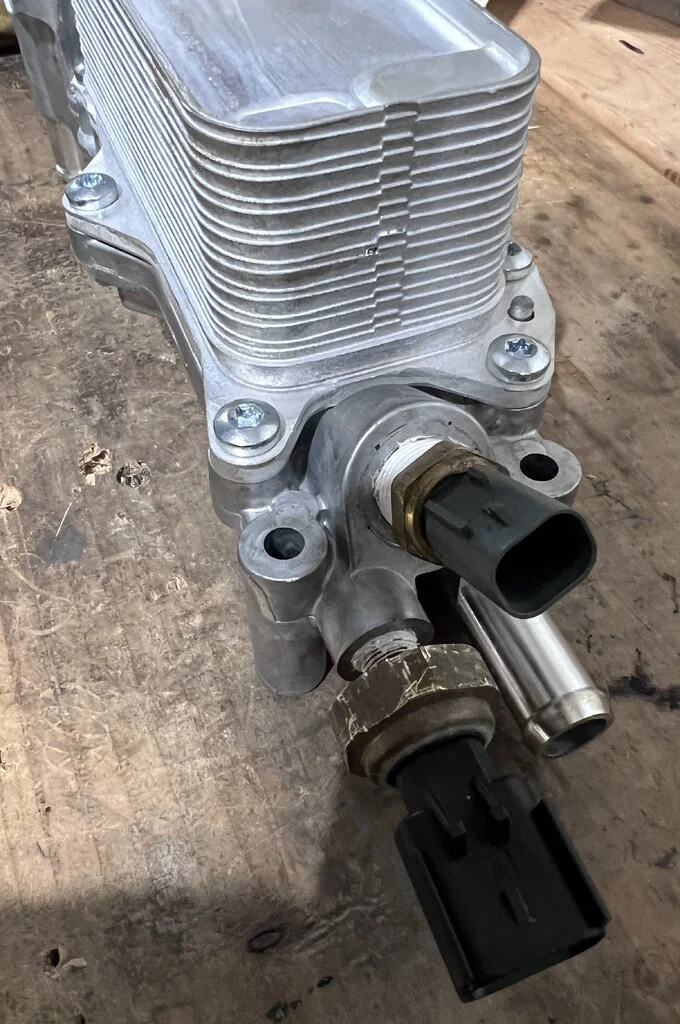
New cooler with sensors installed:
Cleaned and ready for new filter/cooler:
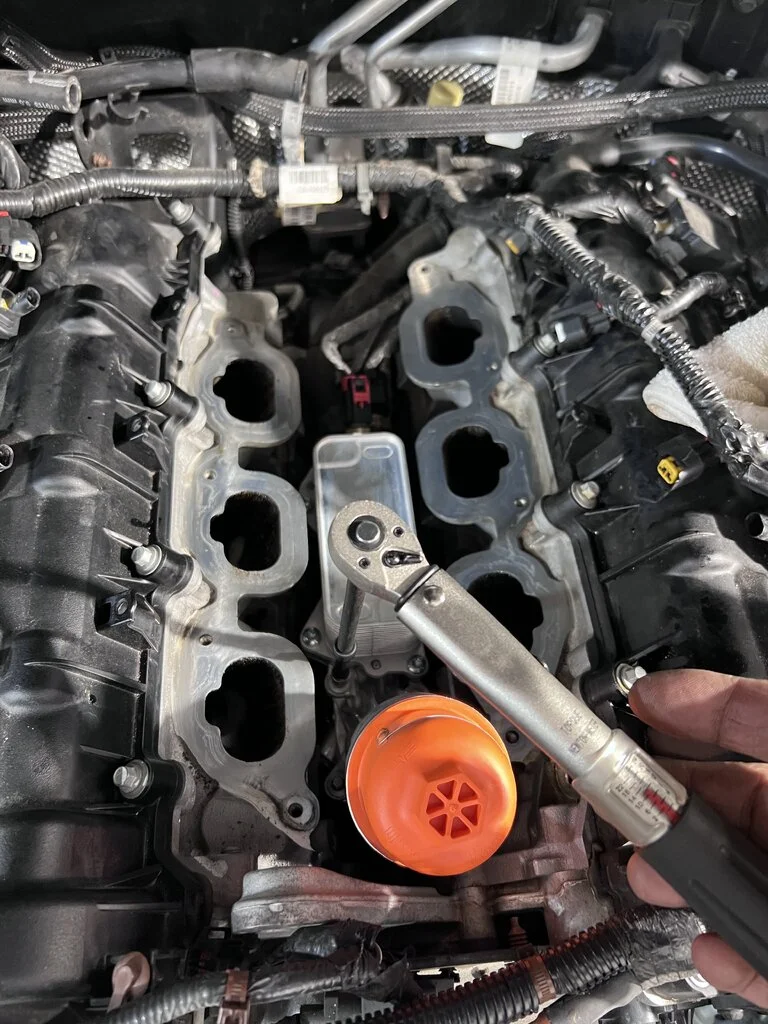
New filter/cooler installed and torqued:
Lower intake and fuel injector rails installed, new spark plugs, new coils, and wiring harnesses back in place.
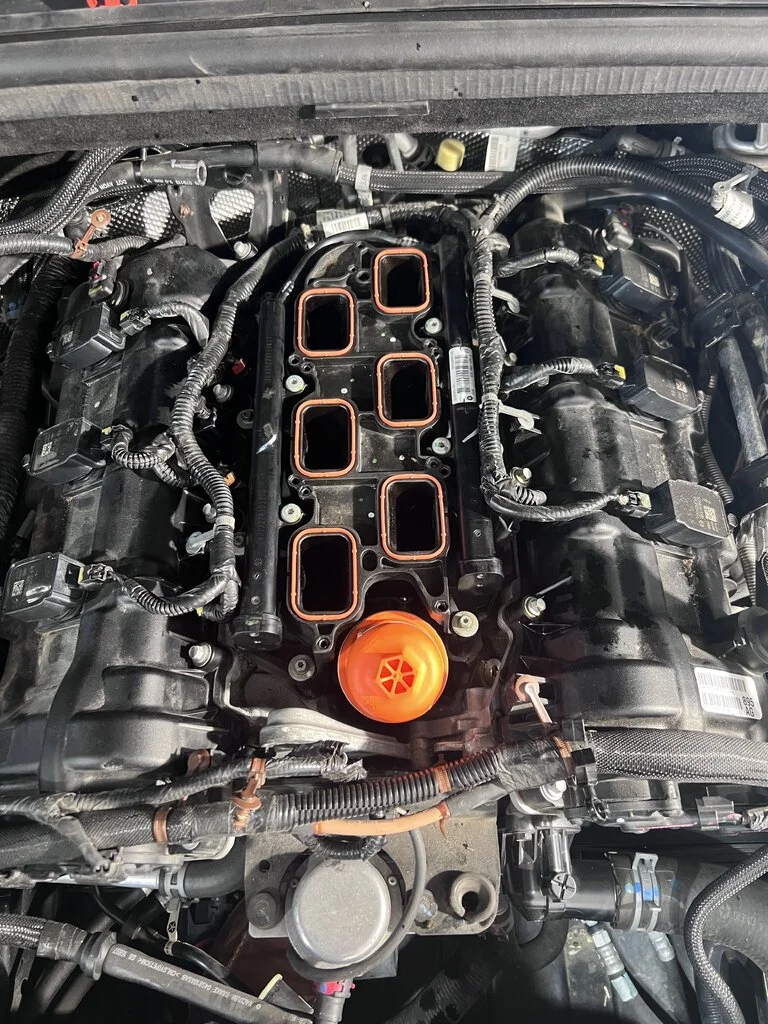
Upper intake installed:
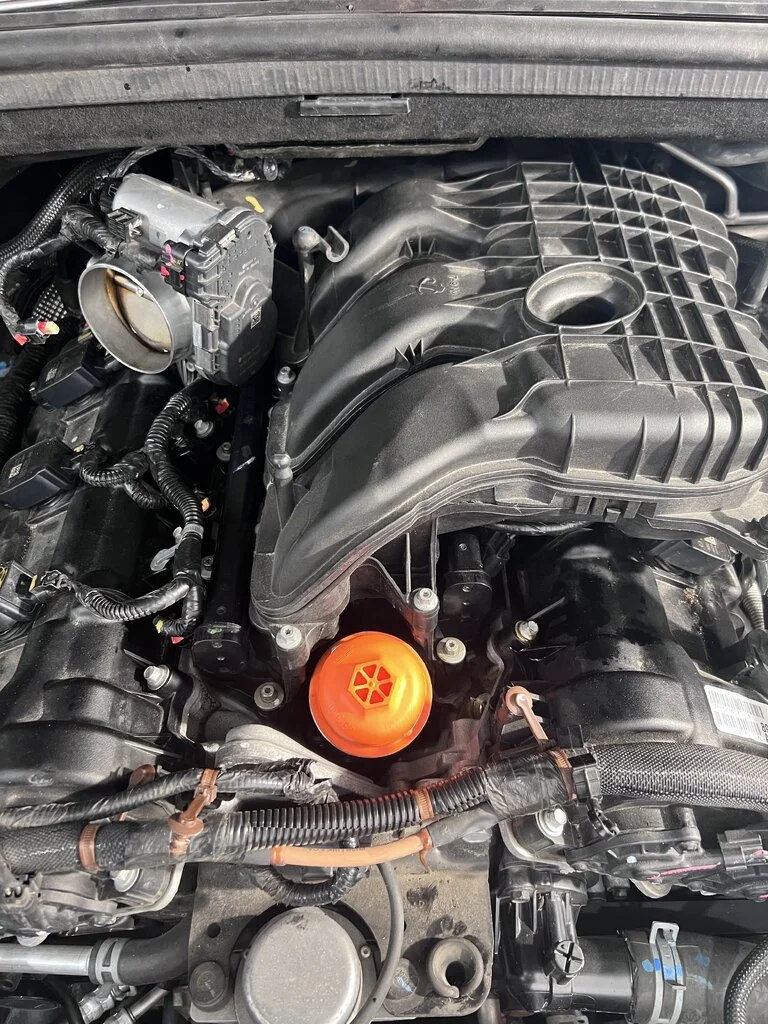
Job completed:
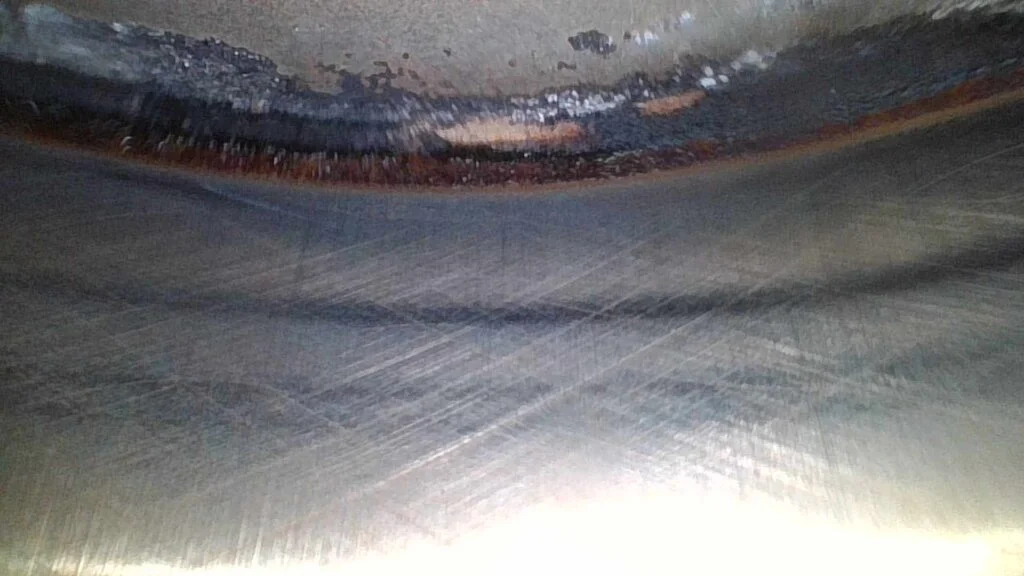
Good cross hatching in cylinders:
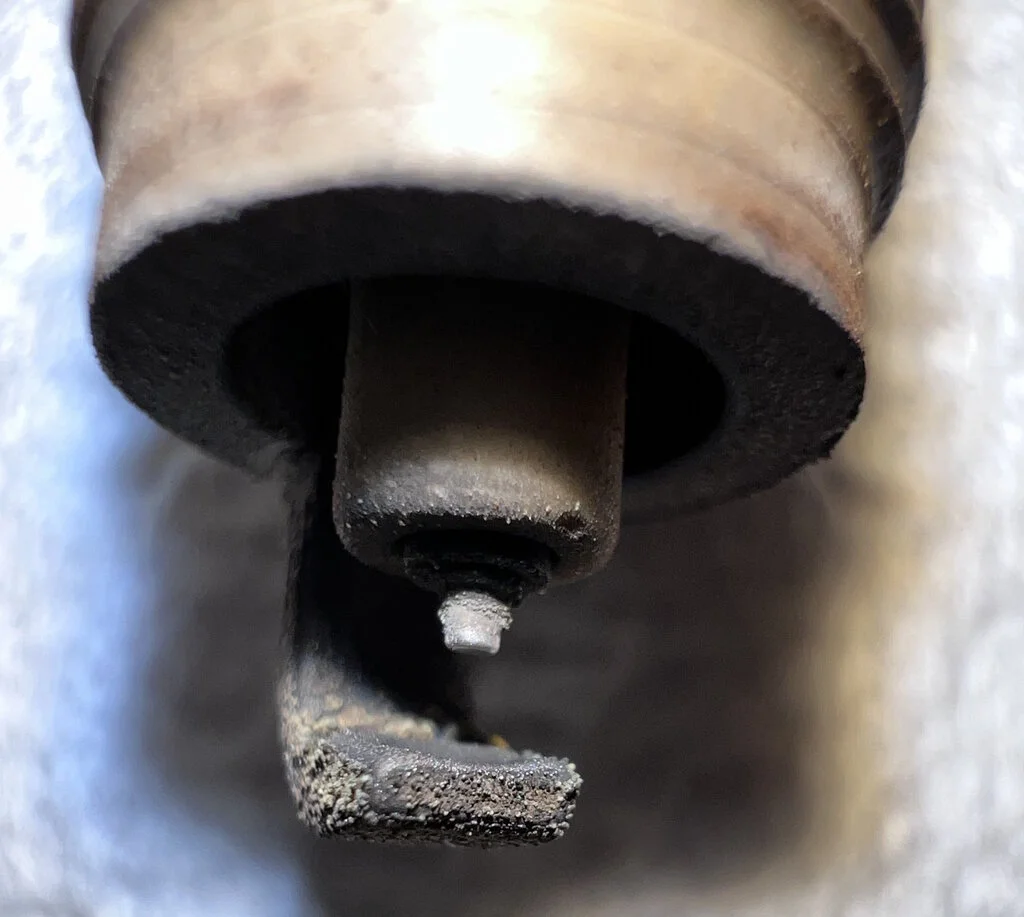
Typical plug:
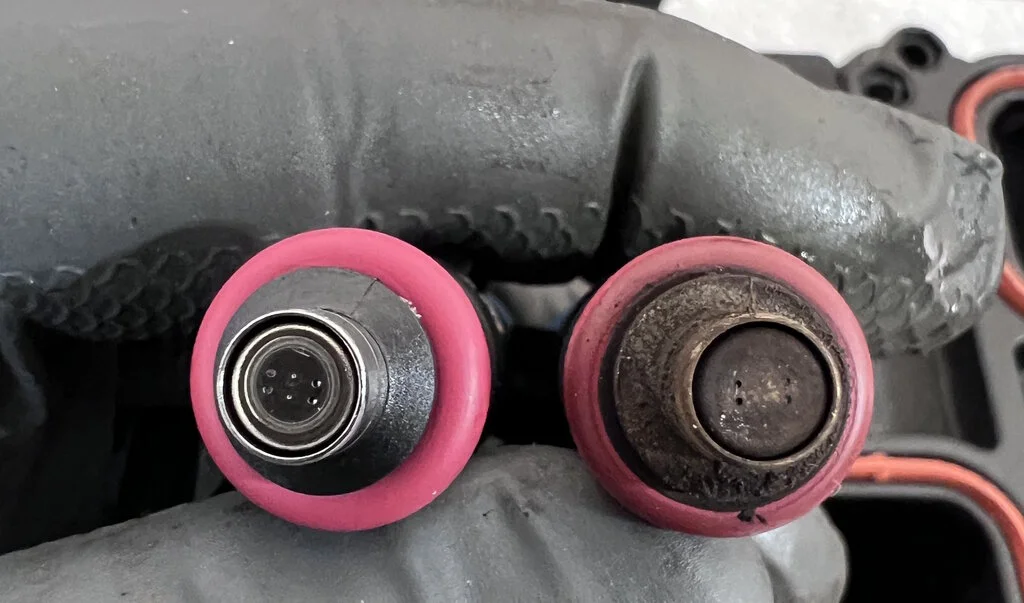
Old vs. new injector:
Durango oil filter/cooler housing leaking again :-(
The infamous Pentastar oil filter housing/oil cooler on my Durango is leaking again. The original housing was replaced by the dealer at 60,010 miles (they we nice enough to write the work order with 59,500 miles) under warranty. This time the housing lasted for 108,000 miles. I am the only one...
bobistheoilguy.com
I changed the filter housing/oil cooler this morning. The job from start to finish took about 4 hours and 15 minutes. The most difficult part of the job is the two nuts and a stud that holds the upper intake bracket to the block and the two nuts that hold the bracket to the intake. It took about 20 minutes and some colorful language to get them off. Ironically, it took about three minutes to get them back on. This is not a difficult job, it just requires some patience and mechanical understanding. Cleaning the intake ports on the heads and the gasket surfaces on the lower intake, fastening the cooler to the filter body, and swapping the sensors probably takes as much time as the rest of the job. I did change the plugs, coils, and fuel injectors, so that was probably 30 minutes of the total time. If you were only changing the filter housing/oil cooler, this job could be done in three and a half hours.
Total miles is 168,000 and this cooler had 106,000 miles before cracking.
Cost:
Bosch coil packs (part #0221504032) $183.58
Bosch fuel injectors (part #62410 / 0280158233) $270.84
NGK LKR7DIX-11S Iridium IX Spark Plugs (93175 Iridium Ix) $49.43
Dorman 926-959 Patented Upgraded Aluminum Engine Oil Filter Housing with Oil Cooler and Filter $215.75
Total cost $719.60
My guess the dealer cost for all of this would be about $2000. I could have used the old injectors and coil packs, but if one goes bad, the whole upper intake has to come off again. It's probably a two hour job to remove and reinstall, so I just replaced everything. Plus, with 168k miles, at least one of those twelve parts was on borrowed time.
I cycled the key to run three times and listened for the fuel pump to stop running. The fourth time, I attempted to start it and it started right up as usual. I'm not sure how the system gets the air out of the fuel rails...
It runs great and idles sooo smoothly.
I got some inside the cylinder pictures with my bore scope, through the spark plug holes.
The entire photo album with descriptions can be found here:


Start of job:
Upper intake removed:
Lower intake removed:
Lower intake new gaskets and new injectors
New cooler with sensors installed:
Cleaned and ready for new filter/cooler:
New filter/cooler installed and torqued:
Lower intake and fuel injector rails installed, new spark plugs, new coils, and wiring harnesses back in place.
Upper intake installed:
Job completed:
Good cross hatching in cylinders:
Typical plug:
Old vs. new injector:
Last edited: