'03 CRV valve stem seal replacement

Status
Not open for further replies.
Joined
Aug 20, 2014
Messages
562
Location
Sk, Canada
After quite a few months of researching how to do the valve stem seal replacement, I did it! Let me tell you this isn't the easiest to do this when the engine is in the vehicle. The Honda dealer near me wanted $1300 + tax to do this. I spent $80 on a seal remover and a valve spring tool.


Thanks, and ifanyone has any questions don't hesitate to post them up. I forgot to take pics of critical moments that i thought would have added alot to the understanding of how one does this.
 
Wow, well done! I don't know if I'd have the ability to tackle that. I assume this is your first time doing something like this? How long did it take from start to finish?

What symptoms did you have? Morning blue smoke? Have the new seals cured it?
 
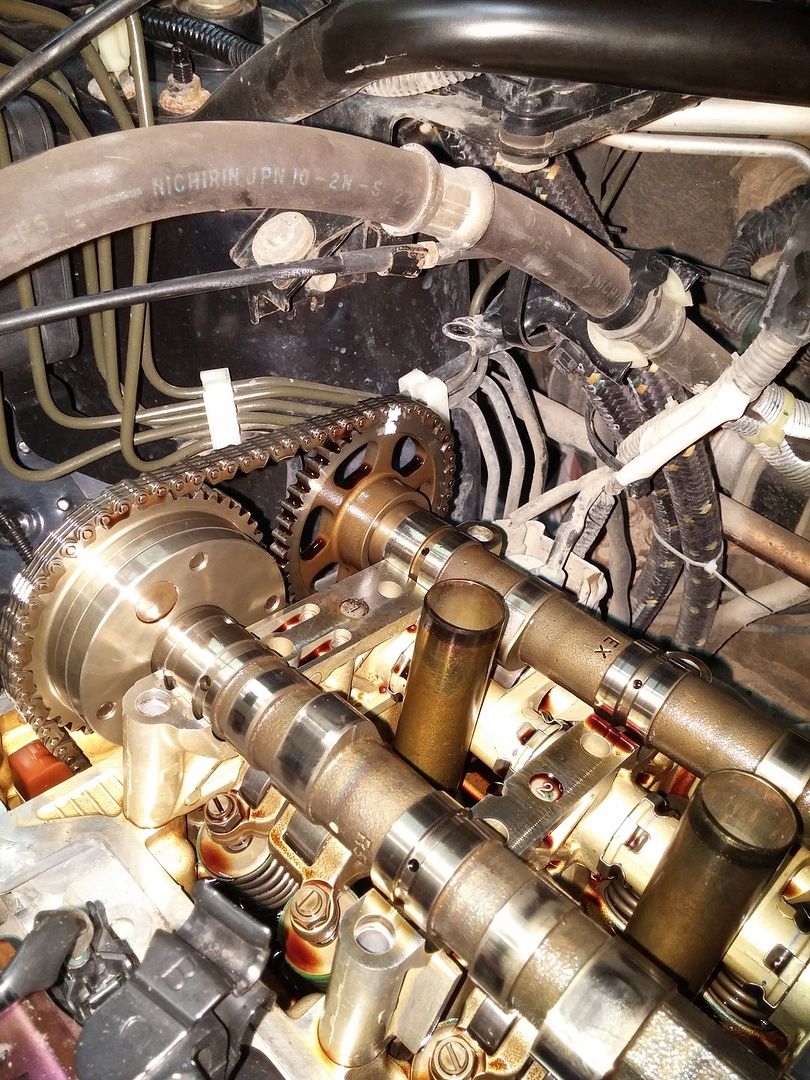
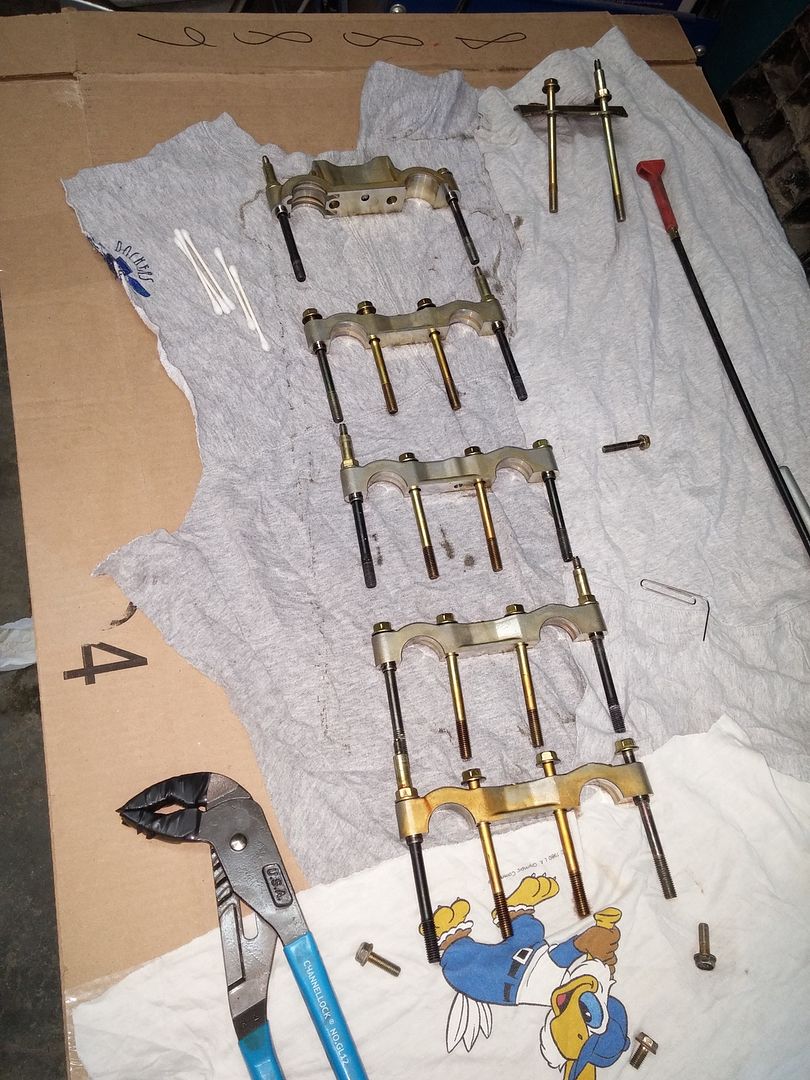
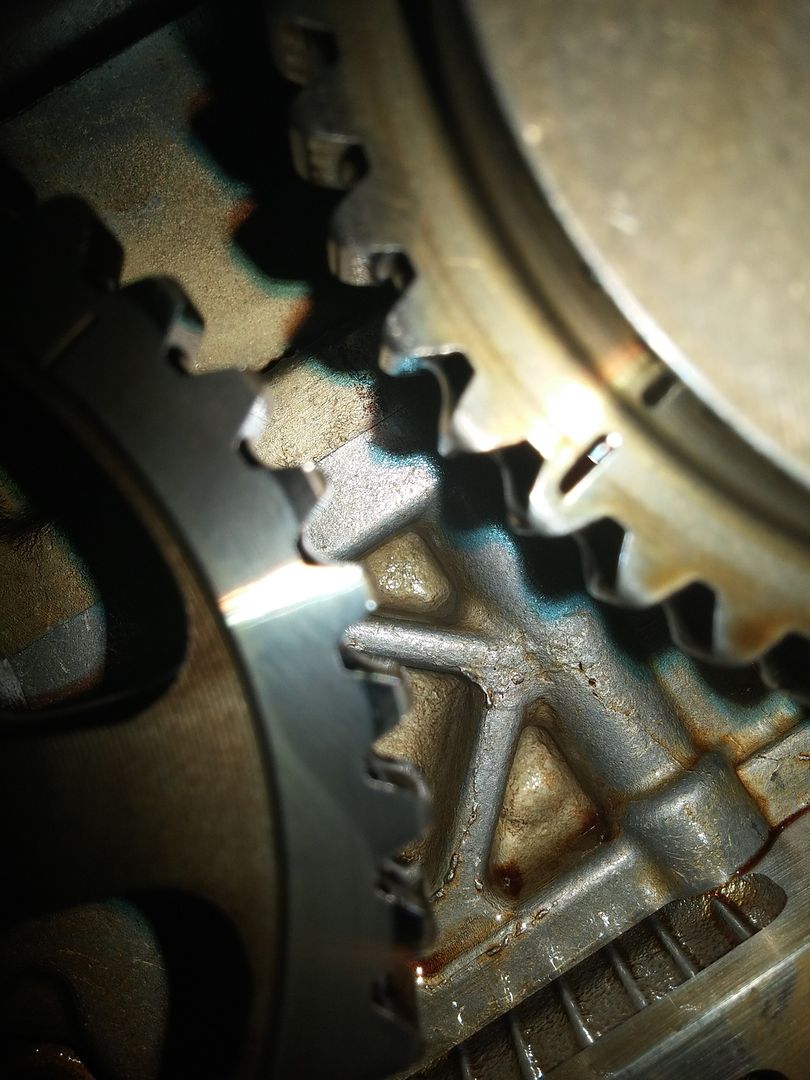
Well it took about 30 hours as we had some trouble with the valve spring tool and getting the roller rocker assembly off. Also, after the first time getting everything back together... The timing was out by 1 sprocket tooth on the crank sprocket. We were trying to be so careful to keep tension on the timimg chain, but we must have let off for a moment and the chain shifted down below on the crank. Sp that added an extra 10 hours or so. I also adjusted the valve timing according to the service manual, but it definately sounds too loose, so i am going to open it up again soon and re-adjust again. Knowing what i know now, i would have taken about 12 hours all said and done.

Yes, this was my first time working on an engine, internally. I feel much more confident now.

Oh, I also was very maticulous on bolt torque specs and tightening sequences. Very important, imo.

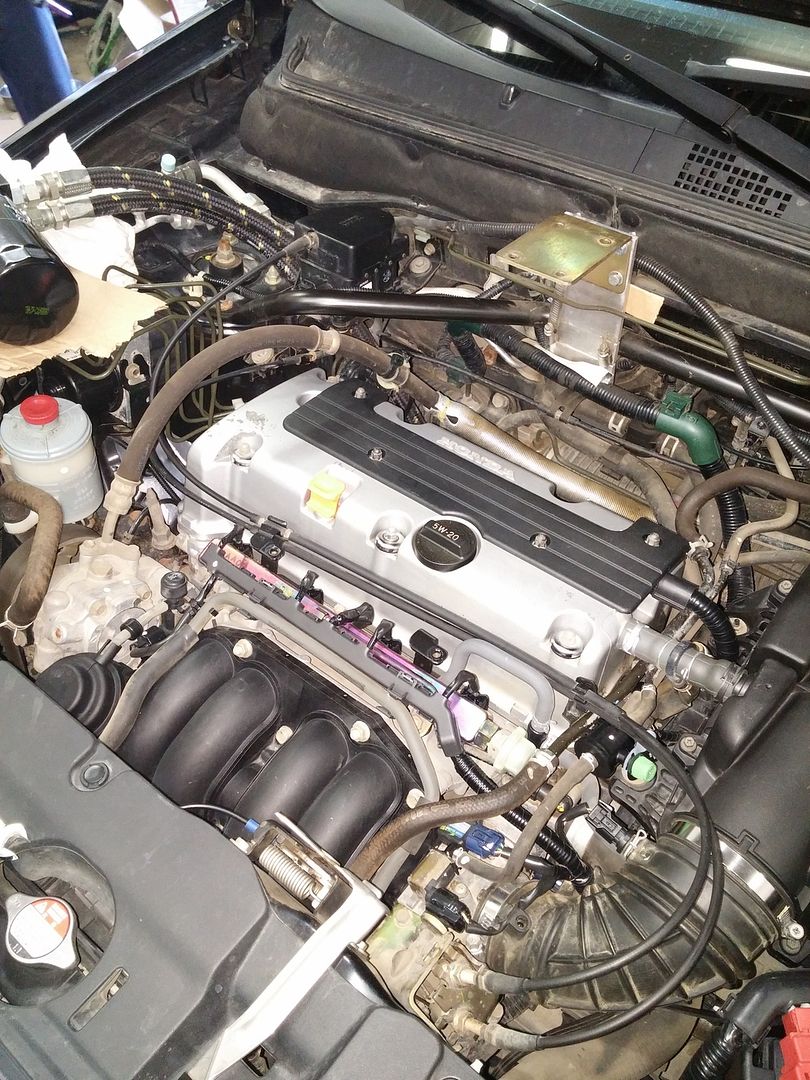
Symptoms were blue smoke on start up after sitting for at least a few hours. There was also loud rapping noise from carbon buildup that is NOW GONE. Very happy with the results. Scary thing is though, I went on a 1800km road trip to Vancouver the day after I was done.
 
I also replaced the valve cover gasket, valve cover bolt gaskets, and spark plug tube gaskets with a Fel-Pro gasket kit. Very good quality.


Valve spring keeper tool. You remove the black piece to remove springs/keepers. Then you reinstall the black end piece to replace the keepera in the spring seat. Very slick.

Here are what the seals look like. However i bought genuine Honda units last minute for $30 for all 16.
 
Oh, and another thing, you see in the one pic there is string in the spark plug tubes... You have feed enough rope into the cylinder head when at bottom dead center, then manually crank the engine over with the steering pump pulley to push the rope into the valves. There MUST be alot to make the valve stems SOLID while using the valve spring tool.
 
Nice work, that's a big job for a rookie to tackle. Back when I turned spanners for a living, we'd screw an adapter into the spark plug holes and use air pressure to hold the valves closed, but I like the rope idea too. 30 hours, lol, you sure didn't rush! Wonder what the book time is on this?
 
Yeah, it was a big job for me. Like i said we got stumped a few times, getting rocker assembly out and how to do the timing chain tensioner, also we had to modify the spring tool and play around with it until it worked. If i did the job again, it would take about 12 hours I'm sure.

I just dont see how air pressure can keep the valves closed and not move when using the spring too, you have to push HARD. You might just loo$ a valve, then you are @$!#%?.
 
Originally Posted By: zpinch
I just dont see how air pressure can keep the valves closed and not move when using the spring too, you have to push HARD. You might just loo$ a valve, then you are @$!#%?.


They don't move when pressurized to the correct setting. I've done it several times using the exact tool you used to remove and reinstall the keepers, trust me there's no danger of dropping the valve. I actually worry more about the rope method, but that's just me.
 
also: you must have a high capacity shop grade compressor that gives enough cfm to overcome the blowby in order to keep the valves up.

I no longer owns my shop so if I'm to do these kinds of work from my home garage, I'd have to use the rope method (remember: at least 10~15ft per cylinder).

Q.
 
Originally Posted By: berniedd
Pardon me, but what is that rectangular open chamber with the paper clip in the 5th picture all about?


That box section is where you gain access to the timing chain tensioner.

The paper clip is for holding the tensioner in-place (before the piston extends).

Q.
 
Status
Not open for further replies.
Back
Top