would you be trying to clean that radiator? walmart has the foam spray can designed to clean the A/C coil/condenser for about $6.00 Wonder if that one would clean the radiator! Brake cleaner should be safe enough to clean off the PS fluid.
You are using an out of date browser. It may not display this or other websites correctly.
You should upgrade or use an alternative browser.
You should upgrade or use an alternative browser.
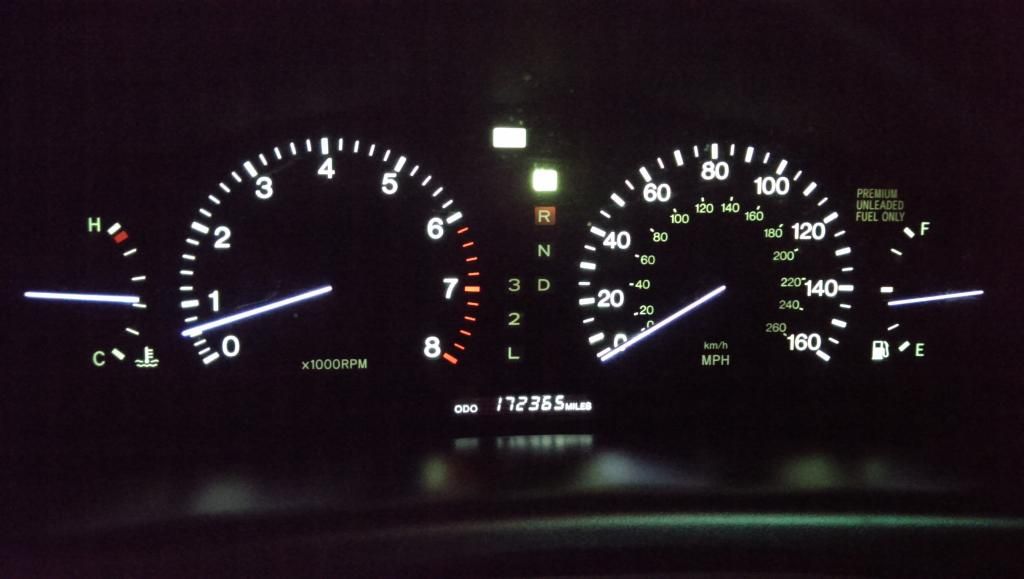
New to me 1995 LS400 172k pics
- Thread starter Brybo86
- Start date
- Status
- Not open for further replies.
To remove the power steering fluid, I suggest blasting everything with Simple Green and then washing everything with a hose.
Brybo86
Thread starter
I finished removing the TB today and started putting it back together
Removing the old TB, not sure why the lexls tutorial has you remove the belt before removing the fan bracket?

There were a couple hiccups
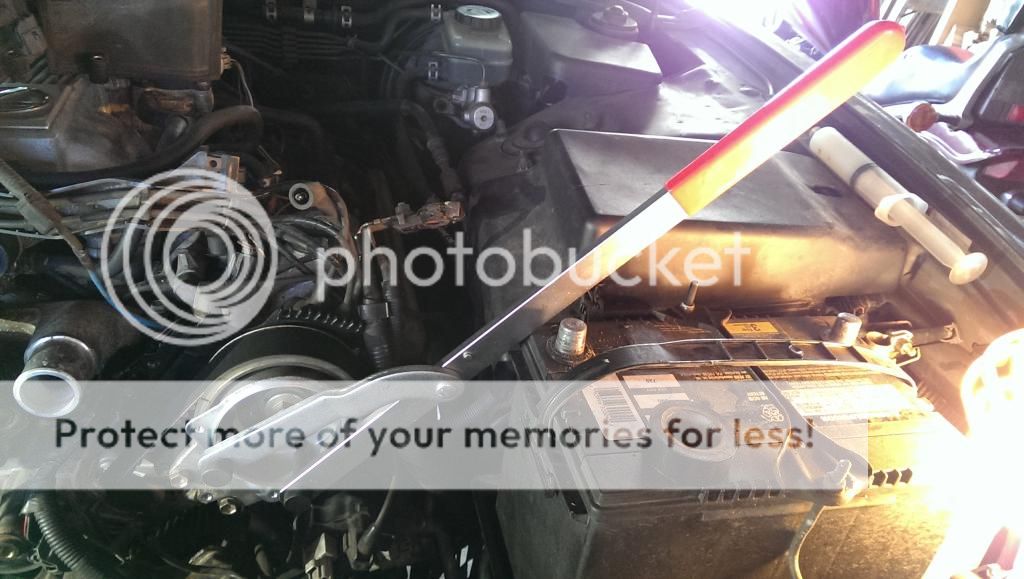
the fan bracket was pain to get off, mostly because it is bolted to the AC unit, and the bolts are on the side and down like a few inches below the battery.
Then there are those tiny screws holding an electrical bracket on the top of the AC unit.... had to use a 2ft long extension and socket phillips bit to get at them so that the fan bracket would be able to pull out
I changed the PS reservoir o ring, the old one was very brittle and hard like plastic, I hope that solves my leak
I zipped the cam pulleys off with an impact and went at the seals using the genius special tool...
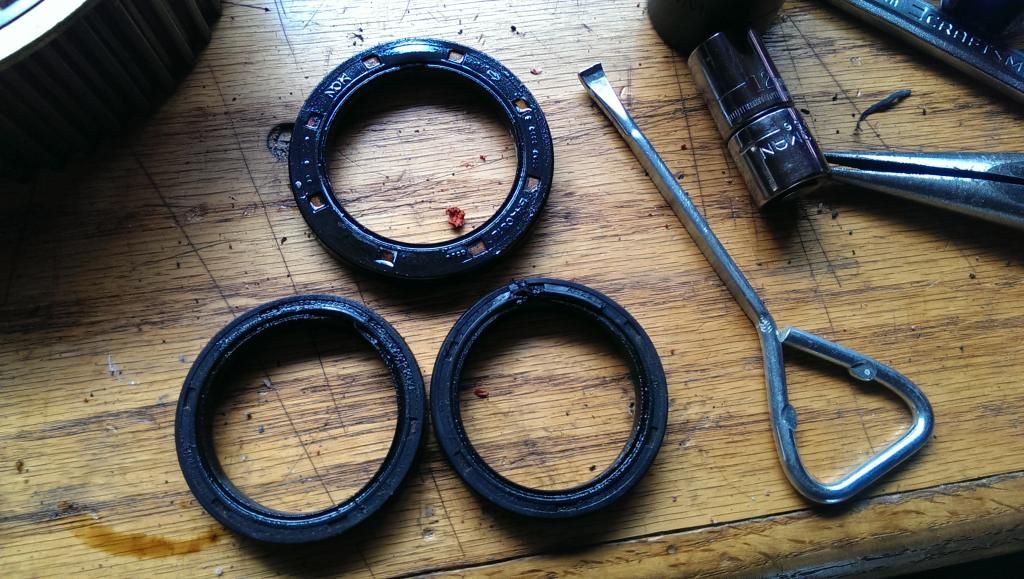
its [censored] metal, kinda soft, which is good so that it wont scratch the shafts, I filed the back side of the paint opener using a rough metal file then used a finer grit sandpaper to get a nice flowing curve on the backside.
The RH camseal was the tightest, the LH was OK and the crankseal just popped out. The paint can opener worked great, I put the opener on top of the shafts just like when using it to open a paint can then got the sharp edge to cut into the seal as i pushed the handle down parallel to the shaft. No scratches.
I put the cam seals in using a huge socket, they went in fine.
I used a big piece of PVC to install the crankseal... until I noticed that I pushed in the bottom too far!!... DUMB. I was ticked, luckily there was a dealer 20 mins away that had one in stock.
The one they gave me was the exact same part number but it was black, not brown like the one I got from Sewell.
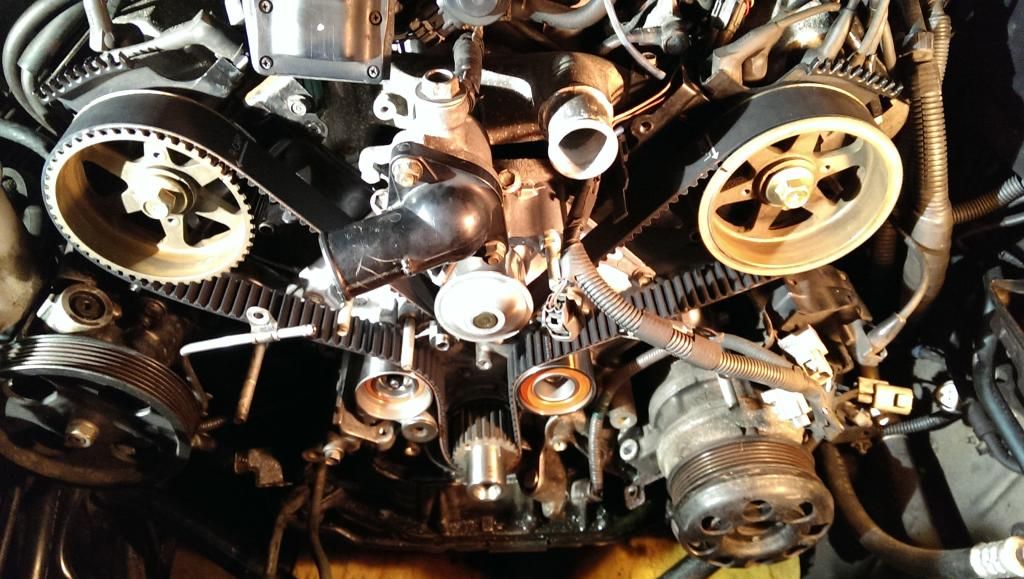
Water pump reinstalled using the OEM gasket only no RTV
water inlet housing reinstalled with new orings, RTV, new thermostat and oring.
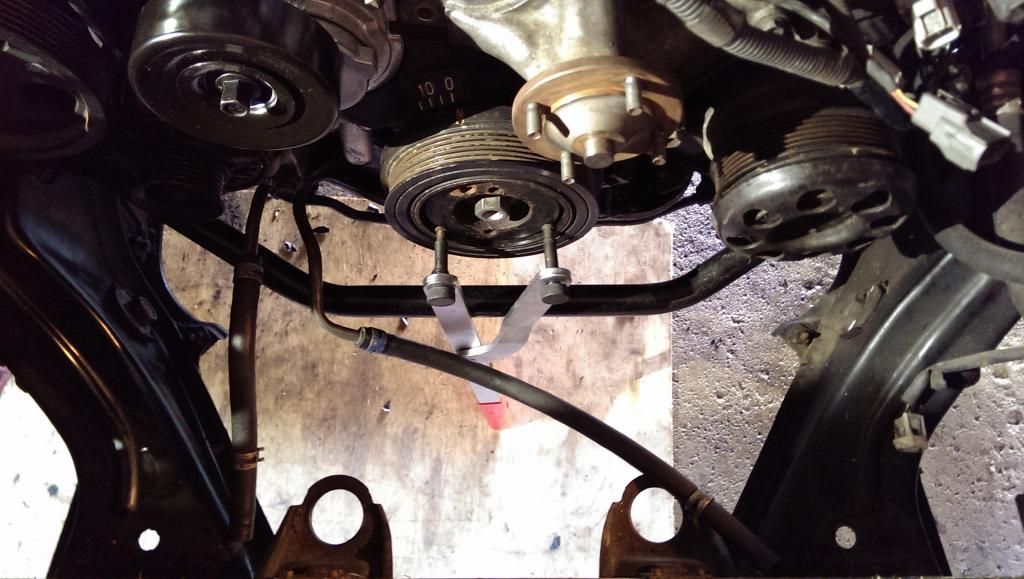
idler #1 and #2 installed.
and she is ON!
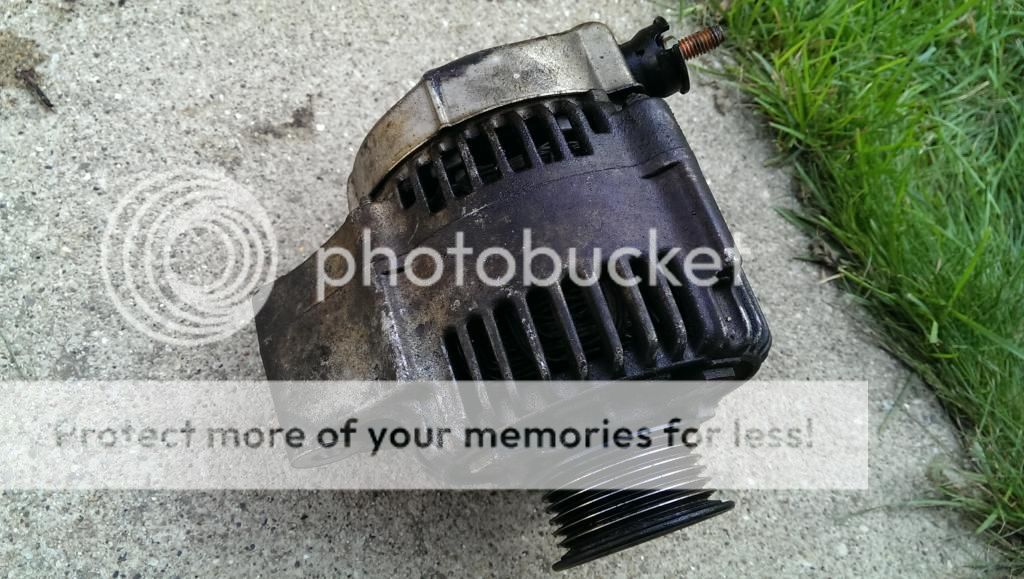
sorry i forgot the alternator pic,
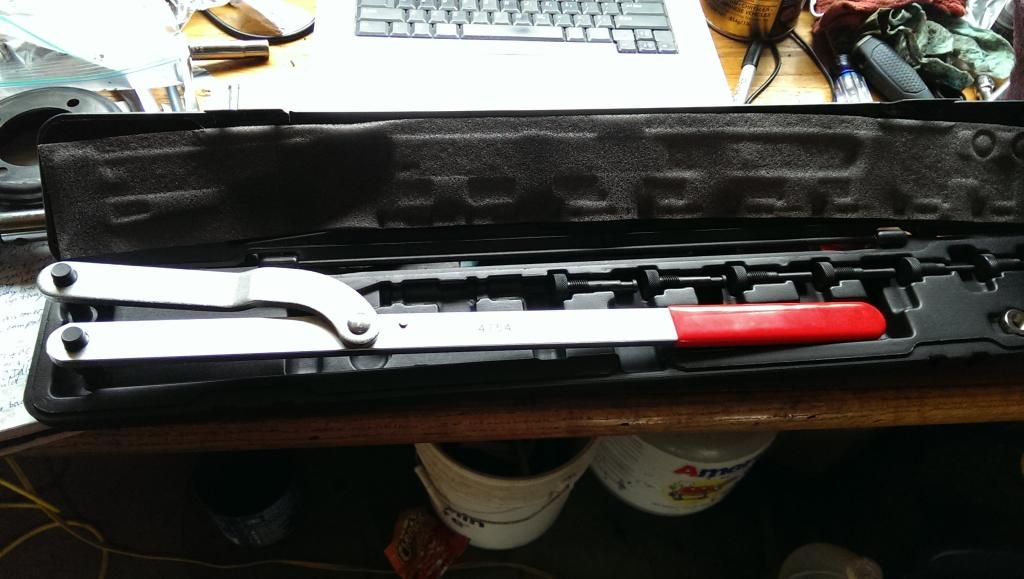
waiting for my adjustable spanner to torque the cams and crank
drivebelt tensioner is squeaky, I'll prolly buy the gates one tomorrow.
Removing the old TB, not sure why the lexls tutorial has you remove the belt before removing the fan bracket?
There were a couple hiccups
the fan bracket was pain to get off, mostly because it is bolted to the AC unit, and the bolts are on the side and down like a few inches below the battery.
Then there are those tiny screws holding an electrical bracket on the top of the AC unit.... had to use a 2ft long extension and socket phillips bit to get at them so that the fan bracket would be able to pull out
I changed the PS reservoir o ring, the old one was very brittle and hard like plastic, I hope that solves my leak
I zipped the cam pulleys off with an impact and went at the seals using the genius special tool...
its [censored] metal, kinda soft, which is good so that it wont scratch the shafts, I filed the back side of the paint opener using a rough metal file then used a finer grit sandpaper to get a nice flowing curve on the backside.
The RH camseal was the tightest, the LH was OK and the crankseal just popped out. The paint can opener worked great, I put the opener on top of the shafts just like when using it to open a paint can then got the sharp edge to cut into the seal as i pushed the handle down parallel to the shaft. No scratches.
I put the cam seals in using a huge socket, they went in fine.
I used a big piece of PVC to install the crankseal... until I noticed that I pushed in the bottom too far!!... DUMB. I was ticked, luckily there was a dealer 20 mins away that had one in stock.
The one they gave me was the exact same part number but it was black, not brown like the one I got from Sewell.
Water pump reinstalled using the OEM gasket only no RTV
water inlet housing reinstalled with new orings, RTV, new thermostat and oring.
idler #1 and #2 installed.
and she is ON!
sorry i forgot the alternator pic,
waiting for my adjustable spanner to torque the cams and crank
drivebelt tensioner is squeaky, I'll prolly buy the gates one tomorrow.
Last edited:
Nice work. I think timing belts are fun. You've gone above and beyond replacing other maintenance items as well. Enjoy!
How are you finding parts? Super expensive or pretty fair?
Brybo86
Thread starter
I have spent about $350 so far not to bad rockauto and sewell lexus with discount
Brybo86
Thread starter
SO...
here is the alternator, outside had some spray on it but the inside looked clean, i just cleaned it off a bit and reinstalled
OTC 4754 universal pulley holder used to torque cams and crank, highly recommended
cam, not actual positioning but u get the idea
crank, again not actual position, i had the car on the ground and let the pulley holder rest against the ground
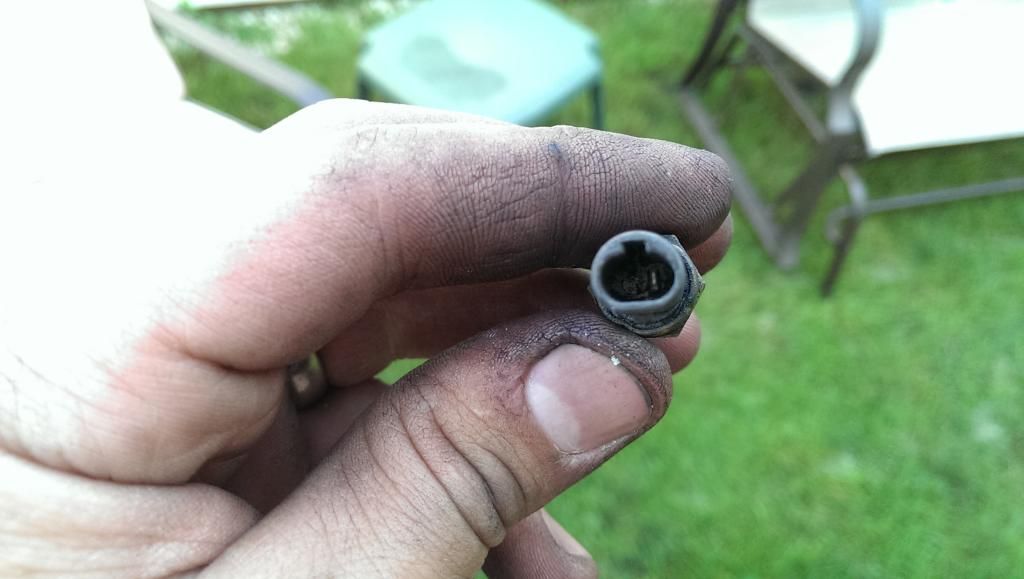
broken connector on coolant sender wire

I should have taken pics but I took a dremel and cut back the plastic on the old sender then soldered a piece of wire to the small tab inside, then twisted it together with the old wire... almost looked professional.
Now the BAD
I put everything together, filled with coolant, reconnected everything, turned the key and all I get is cranking...
it smells like gas, no codes, I am 100% confident the timing is set correctly.
Im thinking the ONLY part of the job that I wasn't 100% sure of my self was the distributor rotors,
"47) Install the distributor rotors. Align the protrusion of the rotor with the groove of the camshaft timing pulley. Torque the 2 bolts to 34 in-lb (39 kg-cm, 3.8 Nm); see step 12, then press backspace to return here."
HUH?
where is the protrusion is this pic? top or bottom?
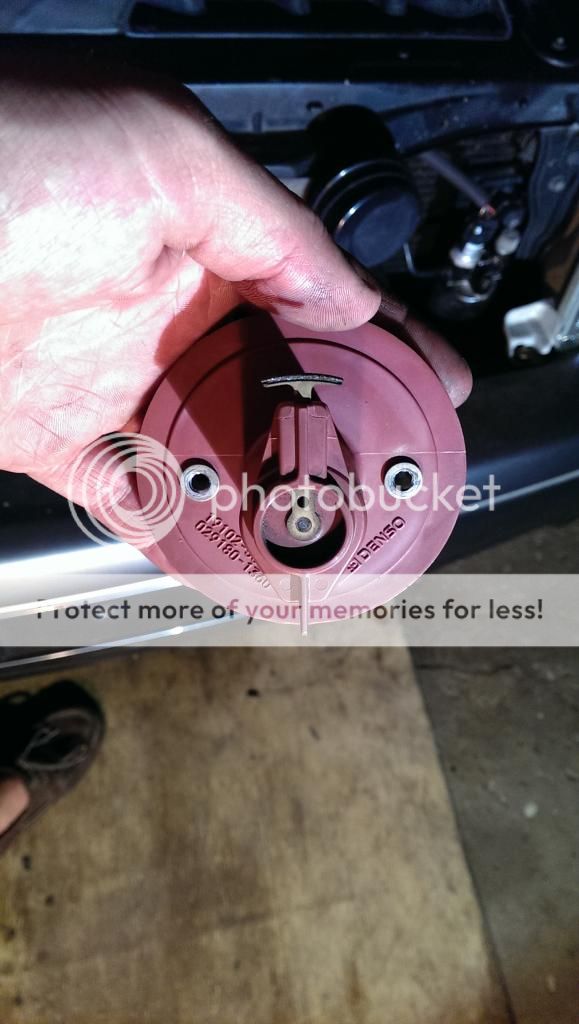
the groove on the back of the rotor is in line with the arrow side not the pickup/contact side
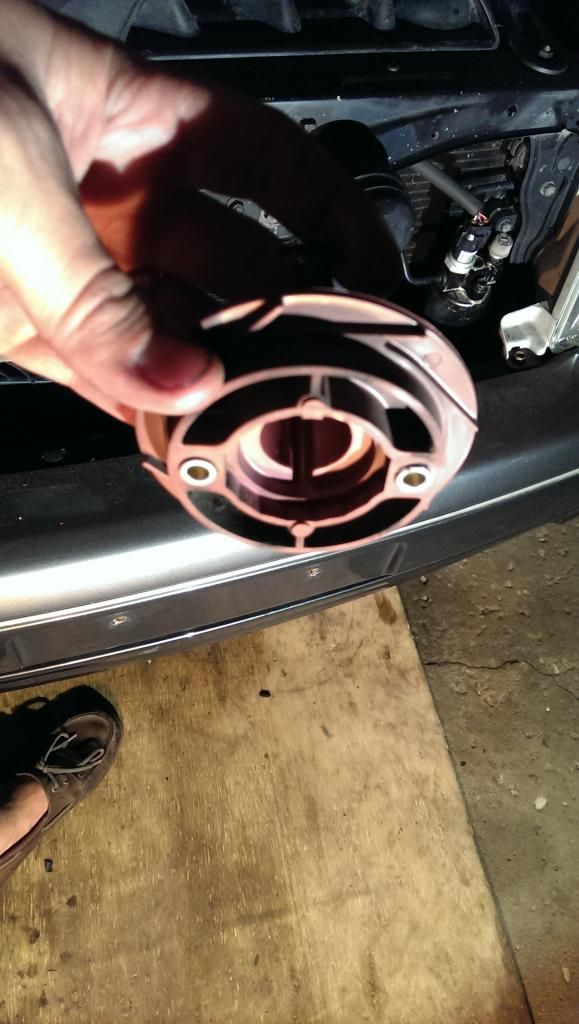
this isn't my pic but I aligned the rotor with the arrow side pointing to the left in this pic...... with the arrow lined up with the "groove" at the 9 o clock position behind the center bolt in this picture.
did I install them incorrectly?
basically is the "protrusion" the friction pickup side or the arrow side?
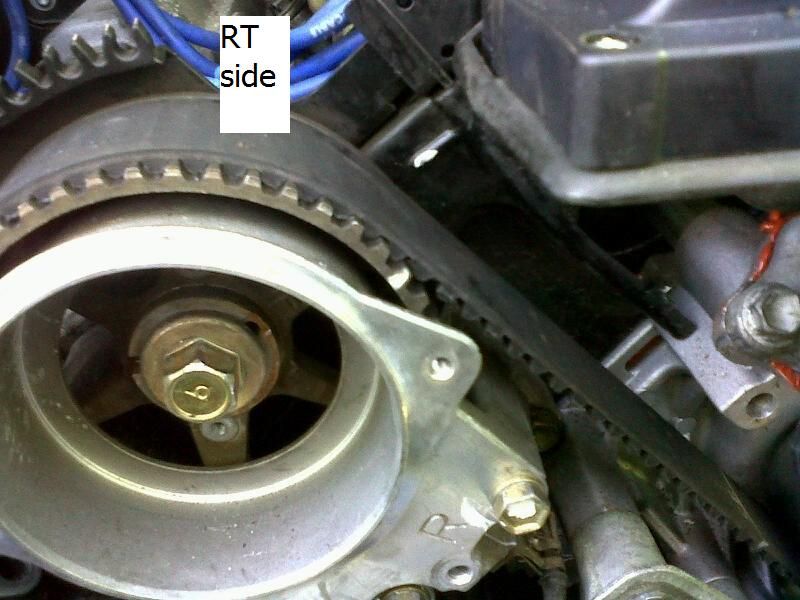
is this pic from lexls.com correct?
here is the alternator, outside had some spray on it but the inside looked clean, i just cleaned it off a bit and reinstalled
OTC 4754 universal pulley holder used to torque cams and crank, highly recommended
cam, not actual positioning but u get the idea
crank, again not actual position, i had the car on the ground and let the pulley holder rest against the ground
broken connector on coolant sender wire
I should have taken pics but I took a dremel and cut back the plastic on the old sender then soldered a piece of wire to the small tab inside, then twisted it together with the old wire... almost looked professional.
Now the BAD
I put everything together, filled with coolant, reconnected everything, turned the key and all I get is cranking...
it smells like gas, no codes, I am 100% confident the timing is set correctly.
Im thinking the ONLY part of the job that I wasn't 100% sure of my self was the distributor rotors,
"47) Install the distributor rotors. Align the protrusion of the rotor with the groove of the camshaft timing pulley. Torque the 2 bolts to 34 in-lb (39 kg-cm, 3.8 Nm); see step 12, then press backspace to return here."
HUH?
where is the protrusion is this pic? top or bottom?
the groove on the back of the rotor is in line with the arrow side not the pickup/contact side
this isn't my pic but I aligned the rotor with the arrow side pointing to the left in this pic...... with the arrow lined up with the "groove" at the 9 o clock position behind the center bolt in this picture.
did I install them incorrectly?
basically is the "protrusion" the friction pickup side or the arrow side?
is this pic from lexls.com correct?
Last edited:
Brybo86
Thread starter
So...... Of course I thought about my no start all day at work.
I came home and decided that the only thing possibly wrong is the distributor rotors.
I changed the LH rotor by only removing the air dam and slightly twisting the upper rad hose up.
The RH rotor required the air intake to be removed as well as the top of the lower rad hose.
I removed tension on the serpentine belt and removed it from the power steering pulley and left it on the rest of the accessory pulleys.
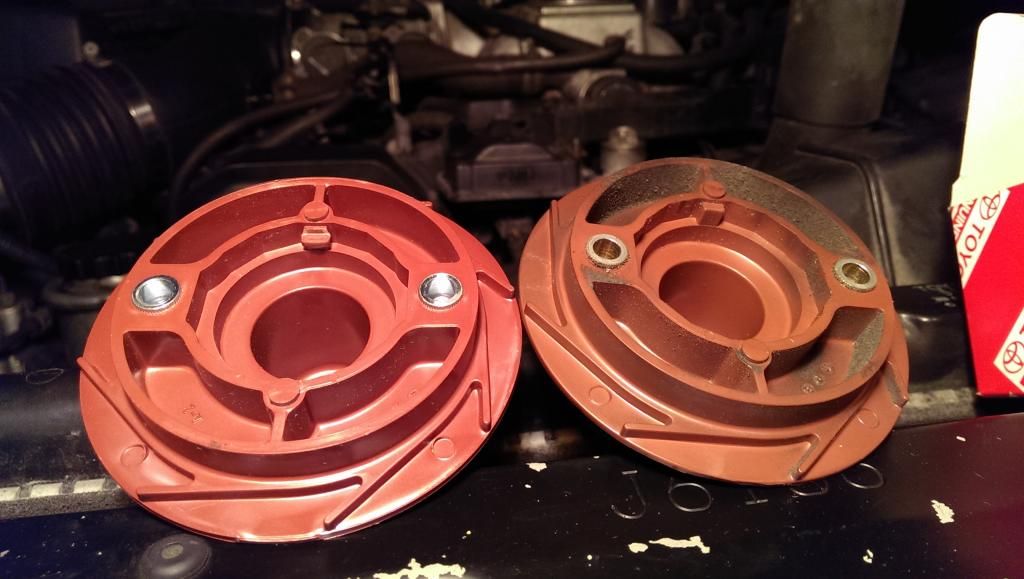
When I removed the rotors this is what I found. See the difference? New rotor is on the left and old is on the right. The tiny tab is smashed on the new/left rotor. I couldn't find this information anywhere other than calling a dealer in Milwaukee and talking to him. He described a small tab on the back of the rotor that aligned with the cam pulley. He also said the "protrusion" is the metal rotor wiper. I would recommend this be added to the timing belt tutorials. I also believe the lexls.com picture is incorrect. cams and crank are set at timing marks but the rotors are not in correct alignment/orientation.
I put it back together and VRROOOM! A bit rough for the first few seconds but then it settled down to the Lexus purrrr.... I was ecstatic.

My ghetto solder job worked on the coolant sender too. Amazing.
Thanks for all the advice and the tutorials helped a ton!
-Bryan
I came home and decided that the only thing possibly wrong is the distributor rotors.
I changed the LH rotor by only removing the air dam and slightly twisting the upper rad hose up.
The RH rotor required the air intake to be removed as well as the top of the lower rad hose.
I removed tension on the serpentine belt and removed it from the power steering pulley and left it on the rest of the accessory pulleys.
When I removed the rotors this is what I found. See the difference? New rotor is on the left and old is on the right. The tiny tab is smashed on the new/left rotor. I couldn't find this information anywhere other than calling a dealer in Milwaukee and talking to him. He described a small tab on the back of the rotor that aligned with the cam pulley. He also said the "protrusion" is the metal rotor wiper. I would recommend this be added to the timing belt tutorials. I also believe the lexls.com picture is incorrect. cams and crank are set at timing marks but the rotors are not in correct alignment/orientation.
I put it back together and VRROOOM! A bit rough for the first few seconds but then it settled down to the Lexus purrrr.... I was ecstatic.
My ghetto solder job worked on the coolant sender too. Amazing.
Thanks for all the advice and the tutorials helped a ton!
-Bryan
Brybo86
Thread starter
no, the rotors are identical for each side, same part number.
They smashed because I installed them 180 degrees from what they should have been.
The 2 bolt holes allow them to be installed in 2 ways.
I found the directions to be a bit fuzzy regarding installation.
Correct installation of the ls400 distributor rotors are as follows.
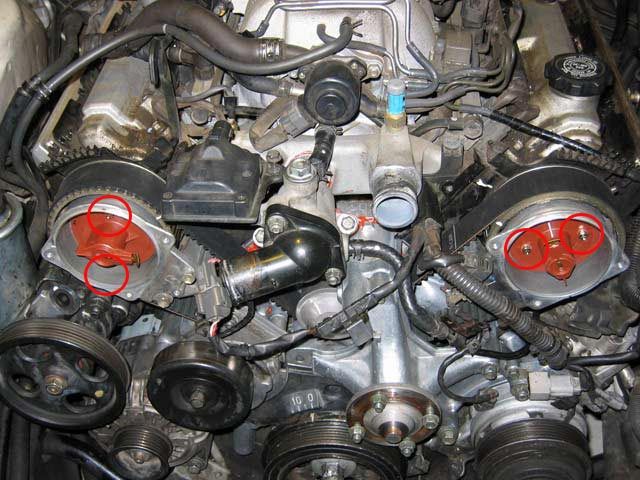
Line Up Cam timing marks and crank timing mark to 0 ensuring 0' TDC
Look at the RH and LH cams to find the groove behind the pulley bolt. Don't confuse the groove with the timing mark. The timing mark will be aimed in the same direction as the timing mark on the outside of the pulley. The groove is square at the end and not rounded like the timing mark.
On the back of the rotor there is a small tab. It is on the same side of the rotor as the metal wiper.
Install the tab on the back of the rotor into the groove on the timing pulley.
On the RH cam@TDC this will cause the metal wiper to point towrads 9 o clock.
On the LH cam@TDC the metal wiper will point towards approx 5:30.
I wish i had known that 2 days ago...
They smashed because I installed them 180 degrees from what they should have been.
The 2 bolt holes allow them to be installed in 2 ways.
I found the directions to be a bit fuzzy regarding installation.
Correct installation of the ls400 distributor rotors are as follows.
Line Up Cam timing marks and crank timing mark to 0 ensuring 0' TDC
Look at the RH and LH cams to find the groove behind the pulley bolt. Don't confuse the groove with the timing mark. The timing mark will be aimed in the same direction as the timing mark on the outside of the pulley. The groove is square at the end and not rounded like the timing mark.
On the back of the rotor there is a small tab. It is on the same side of the rotor as the metal wiper.
Install the tab on the back of the rotor into the groove on the timing pulley.
On the RH cam@TDC this will cause the metal wiper to point towrads 9 o clock.
On the LH cam@TDC the metal wiper will point towards approx 5:30.
I wish i had known that 2 days ago...
Last edited:
Nice car and a good job. I followed your posts on LoC as well.
Let's hope we never have to replace the starter.
Let's hope we never have to replace the starter.
Brybo86
Thread starter
It might be sooner for me than I would like, I am getting a sound like the starter is still engaged for a half second after starting... Either solenoid or actual starter I'm not sure...I may post a you tube video
This may or may not apply but in VW's it was the sliding gear not pulling back and being turned by the flywheel. Removing, disassembling, cleaning & greasing the starter help fix this until it happened again.
Assuming Lexus uses Bosch parts I could see it being the same thing. I also thought it might be due to a weak solenoid return spring.
It seems like yours is not right on top on the transmission like mine was so in your case it seems prudent to replace it.
Assuming Lexus uses Bosch parts I could see it being the same thing. I also thought it might be due to a weak solenoid return spring.
It seems like yours is not right on top on the transmission like mine was so in your case it seems prudent to replace it.
Those are great cars, I had two of the first gen cars. I still consider them from time to time. I believe they were the most reliable car ever.

nice good riding car. My uncle had a GS for like 15 years, I used to think he was a millionaire. He had 290k miles on the thing when he passed away.
Brybo86
Thread starter
I replaced the starter with pics if anyone would like to see.
Lexus Forum thread
Lexus Forum thread
Originally Posted By: Brybo86
It might be sooner for me than I would like, I am getting a sound like the starter is still engaged for a half second after starting... Either solenoid or actual starter I'm not sure...I may post a you tube video
This is somewhat common with the Mitsubishi starters on Honda V-6s, too. Our Acura's starter has dragged the drive gear for a second after the engine lights for over a year now. I have plans to remove it and see if I can nurse it along with some lubrication or other TLC. I'll probably have to end up replacing it...
Originally Posted By: Brybo86
I replaced the starter with pics if anyone would like to see.
Lexus Forum thread
If you want a more active Lexus forum, check out http://www.clublexus.com/forums/
Once you create an account, you also get discounted pricing from Sewell Lexus.
I replaced the starter with pics if anyone would like to see.
Lexus Forum thread
If you want a more active Lexus forum, check out http://www.clublexus.com/forums/
Once you create an account, you also get discounted pricing from Sewell Lexus.
Originally Posted By: JHZR2
Nice car, liked those. This is where the MB S-class should have evolved into versus what it is, IMO. Toyota plagarism at its best, and that is one heck of a car. Good luck with it!
The contemporary W140 S-class is a fantastic car! Except for the biodegradable wiring

Nice car, liked those. This is where the MB S-class should have evolved into versus what it is, IMO. Toyota plagarism at its best, and that is one heck of a car. Good luck with it!
The contemporary W140 S-class is a fantastic car! Except for the biodegradable wiring
- Status
- Not open for further replies.
Similar threads
- Replies
- 27
- Views
- 3K
- Replies
- 17
- Views
- 3K